DIY Tips
Discover Expert Device & Appliance Repair Services | Fast & Reliable Solutions
Quick Appliance Parts & DIY Fixes
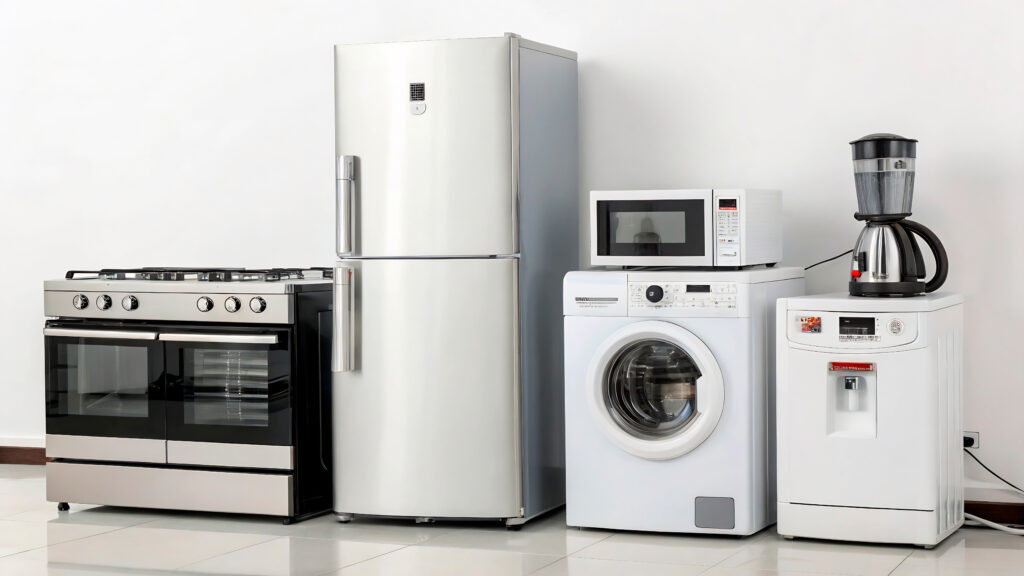
Appliances keep your home running. When one stops, your day can grind to a halt. This guide helps you spot common faults, pick the parts you’ll likely need, and follow clear, step-by-step repairs you can do safely at home. Use the tool lists, quick tips, and safety notes here to save time and money and to keep your appliances working longer. We’ll also show how DIY repairs help both your wallet and the planet.
Spotting and troubleshooting common appliance problems
Fast, accurate troubleshooting makes repairs easier and cheaper. Appliances usually leave clues strange noises, leaks, or odd behavior that point to what’s wrong. Learn a few basic checks for big items like refrigerators and washers so you can narrow the problem and avoid swapping parts or calling a technician unnecessarily.
Common signs that an appliance is failing
Watch for a few reliable indicators: loud or unusual noises, failure to start, visible leaks, or inconsistent performance. For example, a fridge that hums more than usual may have a compressor or fan issue, while a washer that won’t spin often points to a worn belt, motor trouble, or a bad lid switch. Catching problems early keeps small fixes from turning into expensive repairs.
Always start with the user manual many include symptom lists and simple checks you can try safely at home.
Research shows user manuals are a practical first step for diagnosing faults and making sustainable repair choices.
User manuals and their role in fault diagnosis and repair
Product repairs are central to sustainable consumption, and user manuals make many fixes possible. Manuals give official owner information and are commonly used to diagnose and repair household appliances. Despite growing interest in repairable products, few studies evaluate how well manuals support diagnosis and repair.
Diagnosing refrigerators, washers, and other major appliances
Work step by step: Check the basics first. Power, connections, and visible damage, then use simple tools to dig deeper. For refrigerators, a multimeter can test the compressor, start relay, and fans. For washers, inspect the drive belt, motor, and lid switch for wear or failure. Targeted checks help you identify the faulty part and choose the right repair path.
Methodical troubleshooting narrows the problem, cuts guesswork, and helps appliances last longer.
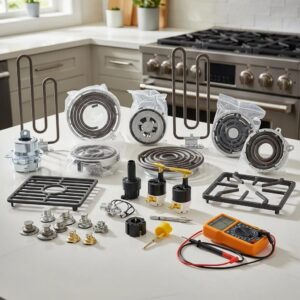
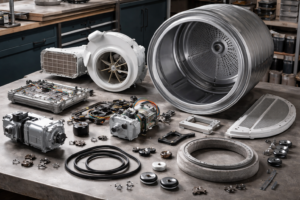
Which replacement parts to keep on hand for DIY repairs
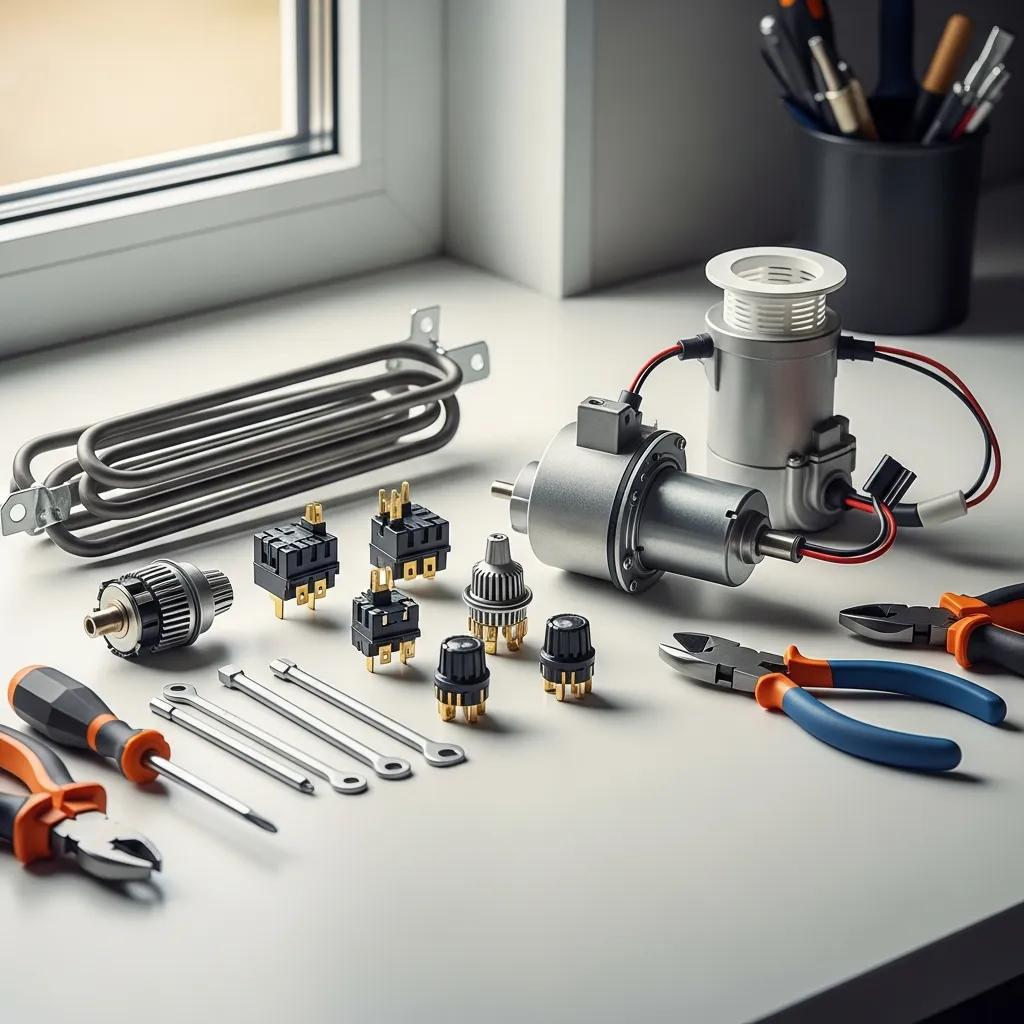
Keeping a small stash of common replacement parts and knowing the difference between OEM and aftermarket options speeds up repairs and reduces downtime. Choose parts based on fit, build quality, and how critical the component is to safe operation. Having a company like U-FIX-IT to easily go to makes getting parts fast and easy.
Most common parts homeowners need
These components solve a large share of everyday problems:
- Heating elements: In ovens and dryers, these generate heat.
- Drain pumps: In washing machines, these pump water out during the drain and spin cycles.
- Thermostats: Control temperature in refrigerators and ovens to keep performance steady.
Having these on hand can shorten repair time and get appliances back in service faster.
Choosing OEM vs. aftermarket parts
OEM parts are made for specific models and usually give the best fit and long‑term reliability worth choosing for critical components. Aftermarket parts can save money but vary in quality. Balance price against expected lifespan and safety: for vital parts (motors, compressors, safety switches) prefer OEM or well‑reviewed aftermarket brands you trust.
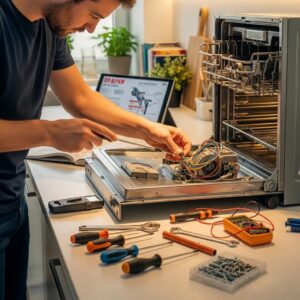
Step-by-step DIY repair guides for quick, reliable fixes
DIY repairs are rewarding and cost‑effective when you follow clear, safe steps. Use step‑by‑step guides to avoid common mistakes, gather the right tools before you start, and follow safety precautions so the job finishes cleanly and correctly.
Many people still face hurdles with DIY repair—so accessible instructions, spare parts, and community support matter if more people are going to confidently fix things themselves.
How to replace key parts in washers, dryers, and refrigerators
Most simple part swaps follow the same pattern:
- Unplug the appliance: Cut power before you do anything. This is the most important safety step.
- Remove the access panel: Use the correct screwdriver to open the panel that covers the part you’re replacing.
- Install the new part: Follow the manufacturer’s instructions, secure all connections, and reattach panels in reverse order.
Work carefully and test the appliance before returning it to regular use.
Safety precautions for appliance repairs
Safety comes first on every repair. Key precautions include:
- Wear safety gear: Gloves and eye protection prevent cuts, sparks, and chemical splashes.
- Work in a well‑ventilated area: Good airflow matters when you use cleaners or solvents.
- Keep tools organized: A tidy workspace reduces mistakes and speeds the job.
These simple habits protect you and make repairs go more smoothly.
Tools and tips that boost successful home repairs
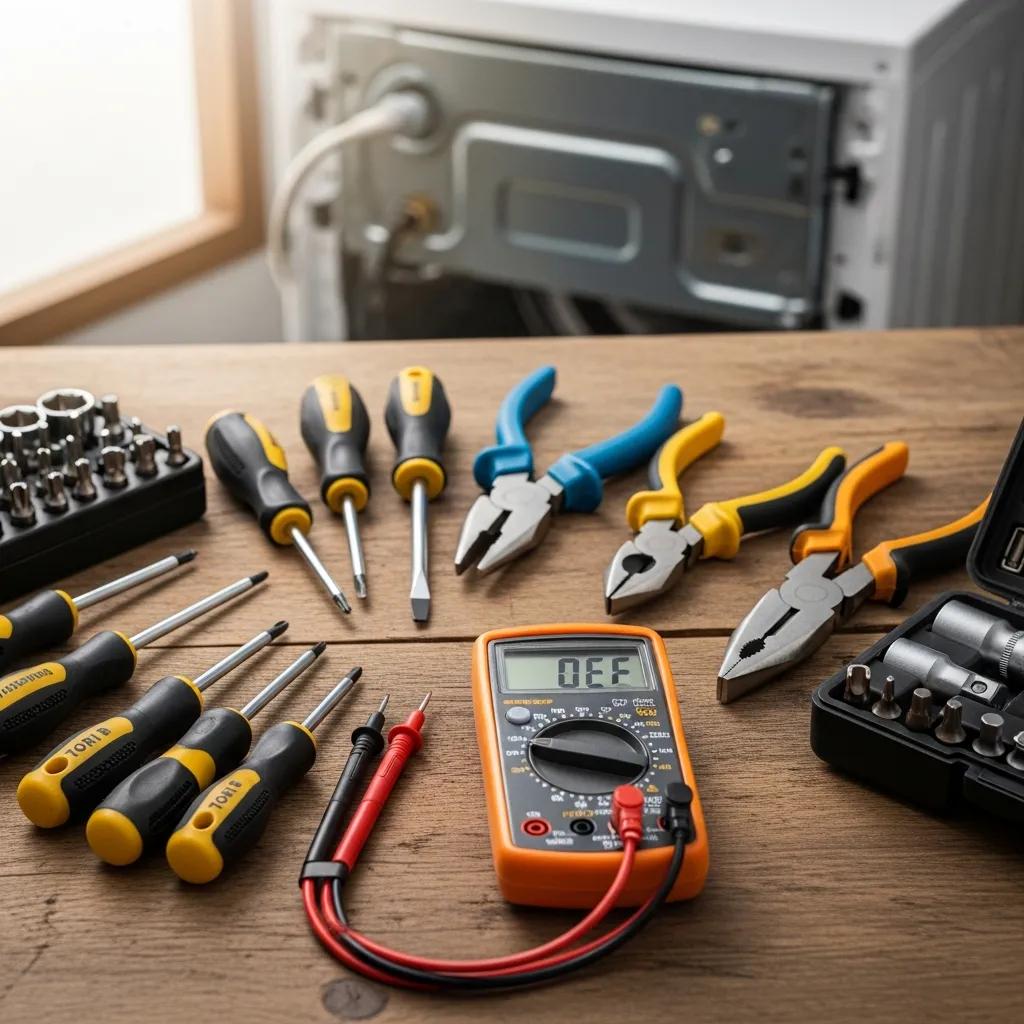
The right tools plus a few practical tips make troubleshooting faster and repairs more reliable. Invest in a handful of quality basics and learn a few standard checks for each appliance type.
Essential tools for effective troubleshooting
Must‑have tools for most appliance work include:
- Multimeter: Tests voltage, continuity, and components to diagnose electrical faults.
- Screwdrivers: A set of Phillips and flat heads in several sizes for panels and fasteners.
- Pliers: Grip, bend, and hold small parts or wires during repairs.
These few tools cover the majority of basic repair jobs.
Maintenance habits that prevent breakdowns
Regular care keeps appliances running longer. Key habits include:
- Clean filters: Replace or clean dryer and dishwasher filters on schedule to maintain efficiency.
- Check hoses and connections: Look for leaks, cracks, and loose fittings to avoid water damage.
- Schedule routine inspections: An annual pro check can catch issues before they fail.
Small, regular maintenance steps add up to big lifespan gains.
How DIY repair saves money and supports sustainability
Fixing instead of replacing is better for your budget and the environment. Replacing a part usually costs a fraction of buying a new appliance and keeps more items out of landfills.
Financial benefits of repairing vs. replacing
Repairs almost always cost less than buying new. For example, replacing a dryer heating element might cost about $100, while a new dryer can top $500. Choosing repair frees up your budget and extends the life of what you already own.
How repairs help the environment
Repairing reduces waste and cuts resource demand. When appliances are discarded, they often end up in landfills; repairing extends product life and supports a circular approach to consumption. That lowers environmental impact and encourages smarter use of resources.
Helping people complete DIY repairs is a practical way to support circular‑economy goals and use resources more efficiently.
Research agrees: supporting people who want to repair their appliances is key to advancing circular economy goals and improving resource efficiency.
Supporting users during DIY appliance repair
Repairing keeps products in use longer and saves resources. The study highlights the ongoing need to give users clear, practical support at every repair stage, especially non‑technical users, so self‑repair is accessible and effective.
With the right know‑how, tools, and parts, homeowners can handle many common fixes themselves. DIY appliance repair is a practical, cost effective, and more sustainable way to keep your home running smoothly.